How to create a personal event in Schedule
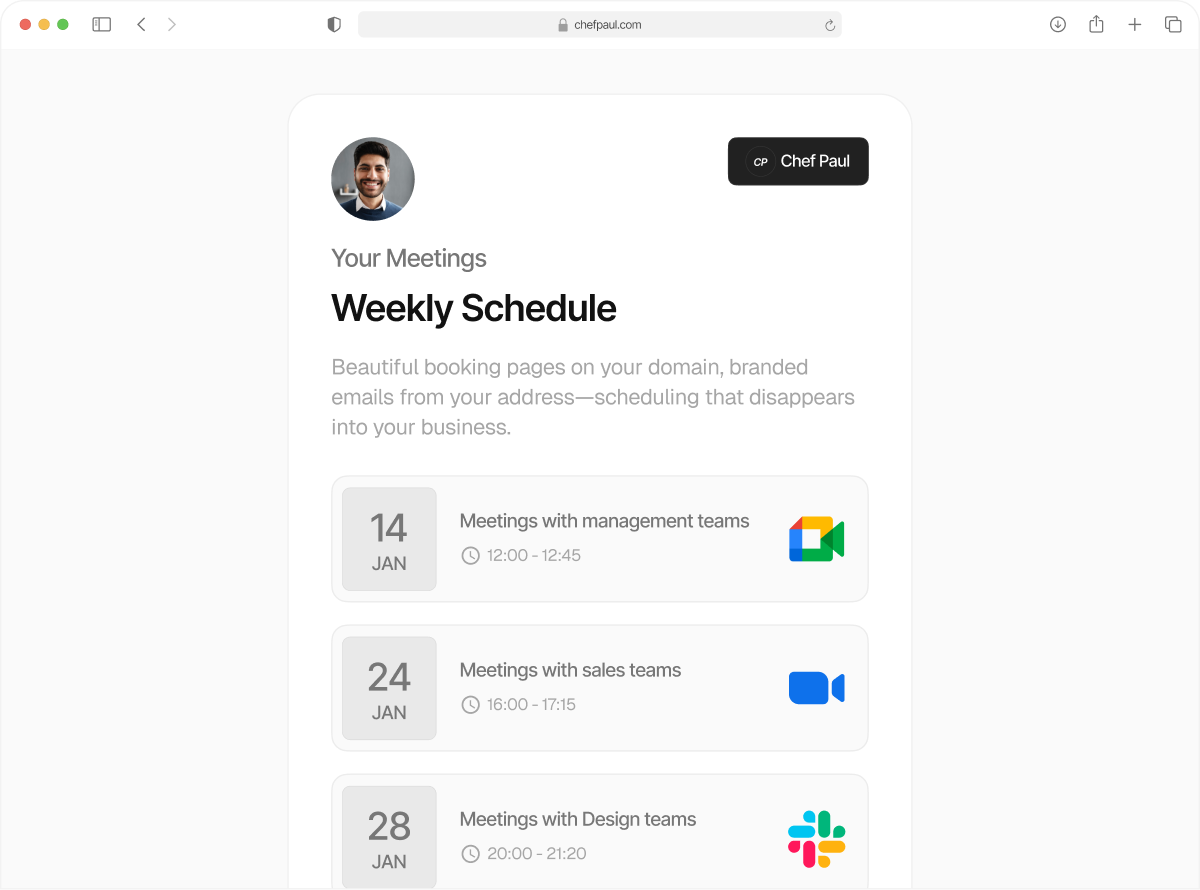
Schedule.so makes it easy to set up a dedicated booking page for your meetings. Instead of coordinating over messages, you can share a single link where others can view your availability and book time with you.
A personal event allows you to define your schedule, set meeting rules, choose how meetings take place, and collect the right information from attendees—all in one place.
Create a New Personal Event
Go to Event Types from the left sidebar. Click New and select Create new personal event. This will open the event setup screen, where all settings are organized into sections for easy configuration. This opens the event creation page. On the left side, you will see the main setup areas: Event Setup, Availability, Limits, Advanced Settings, Notifications. Each one controls a different part of the booking experience.

Event Setup
Event name and description
Start by entering the event name. This is the title shown on your booking page. Add a short description to explain the purpose of the meeting or share any important details.

Booking link
Each event gets its own booking URL. This is the link you share with clients, leads, teammates, or anyone who needs to book time with you. You can change the slug to something shorter or easier to understand.

Duration
The duration decides how long the meeting lasts. This setting affects the time slots shown on the booking page. If you set the event to 30 minutes, the system will offer 30 minute slots based on your availability.
Choose a duration that fits the purpose of the meeting. Short calls may need only 15 minutes. A detailed consultation may need 45 or 60 minutes.

Location
The location tells the attendee where the meeting will happen. This could be a video meeting link, a phone call, or a physical place. If you already have a default location set, it may appear automatically. You can also change it or add a new location here.
This matters because the attendee needs clear instructions on how to join or attend the meeting.

Calendar
This is the calendar where confirmed bookings will be saved. When someone books this event, Schedule adds the meeting to the calendar selected here. This keeps your appointments in one place and helps avoid missed meetings.
Choose the calendar you actually use day to day, not just any connected calendar. That way, your availability and your confirmed meetings stay in sync.

Availability
Choose an availability schedule
Here, you select which availability this event should follow. For example, you may have one schedule for normal work hours and another for weekend consulting. By connecting the right schedule, you make sure this event only shows time slots that match that pattern.
The preview shows how your booking slots will appear across the week.
If you do not already have the schedule you need, you can create a new one from here.

Timezone
The timezone shows which time standard the availability is based on. This is important because your available hours are created in one timezone, but attendees may book from a different city or country.
For example, if you set your timezone to New York and your availability from 12:00 PM to 4:00 PM, those hours are fixed in your timezone. If someone books from London, they will see the time as 5:00 PM to 9:00 PM in their local time.
Schedule automatically handles this conversion, ensuring accurate booking times for everyone.

Limits
Buffer before and after the meeting
Buffer time adds a gap before or after a booking. This is useful if you need time to prepare, take notes, travel, or simply avoid back to back meetings. Without a buffer, meetings can be placed too close together. For example, if a 30 minute meeting has a 10 minute buffer after it, the next available slot will not start immediately.

Minimum notice
Minimum notice sets how much advance time is required before someone can book. This stops last minute bookings that you may not be ready for. If you set a 2 hour minimum notice, nobody can book a meeting starting in less than 2 hours from now. This is helpful when you need preparation time before each meeting.

Limit booking frequency
This setting caps how many times the event can be booked during a selected period. For example, you may allow only 3 demo calls per day or 10 consultations per week. This prevents one event type from taking over your full schedule. Use this when you want to protect time for other work.

Limit total booking duration
This controls the total amount of time that can be booked for this event within a period. Instead of limiting the number of meetings, it limits the total booked time. For example, you may allow only 240 minutes of consultation calls per week, no matter how many bookings that becomes.
This is helpful when meeting lengths vary or when you want stricter control over time spent.

Limit future bookings
This setting decides how far ahead people can book. You may not want someone booking 45 days in advance if your schedule changes often. By setting a booking window, you keep your calendar more realistic and easier to manage. This can be based on business days or a fixed date range, depending on how you want to control the window.

Advanced Settings
Calendars to check for conflicts
This tells Schedule which calendars should be checked before showing open time slots. If you have more than one active calendar, this helps prevent double booking. For example, even if this event saves into one calendar, you may want the system to also check your personal or team calendar for blocked time. This is one of the most useful settings for keeping your schedule accurate.

Allow Guests
This option lets the booker invite other people to the meeting. Turn this on when meetings often include teammates, clients, or extra participants. If you want the booking to stay strictly one on one, leave it off.

Questions Required
These settings control what information users must provide before booking. You can mark fields as required or optional to balance between collecting enough details and keeping the form quick to fill. The email field is required by default to ensure proper communication.
You can also enable email verification, where users must confirm their email before completing the booking. This helps reduce incorrect entries, fake bookings, and improves overall booking quality.

Custom questions
Custom questions let you collect extra details from the attendee. You can choose the input type, add a label and placeholder, and pass values using query parameters. You can ask about project needs, meeting goals, company name, or anything else relevant to the call. This helps you prepare before the meeting and makes the booking form more useful.

Brand Settings
Brand settings let you change how the booking page looks and behaves. You can upload a social sharing image, apply your brand colors, and add a redirect after booking.
These changes help the booking page feel more like part of your business rather than a plain scheduling screen.

Notifications
Notifications control the messages sent during the booking process. You can set notifications for bookings, cancellations, reminders, reschedules, and after-meeting follow-ups. These messages help keep both you and the attendee informed at every step. You can also use notification templates to maintain consistent communication across events.
Once all sections are configured, click Save. Your personal event is now live and its booking link can be shared.

How Booking Works
When someone opens your event link, they will only see time slots that match your availability and booking rules. After choosing a date and time, they fill in the booking form. If email verification is enabled, they must verify their email before the booking is completed.
Once the booking is confirmed, the event is added to your selected calendar and the related notifications are sent automatically.