How to use your own branding in Schedule.so
Your branding shapes how people experience your booking flow. In Schedule.so, that experience includes both the booking page and the emails sent before and after a meeting.
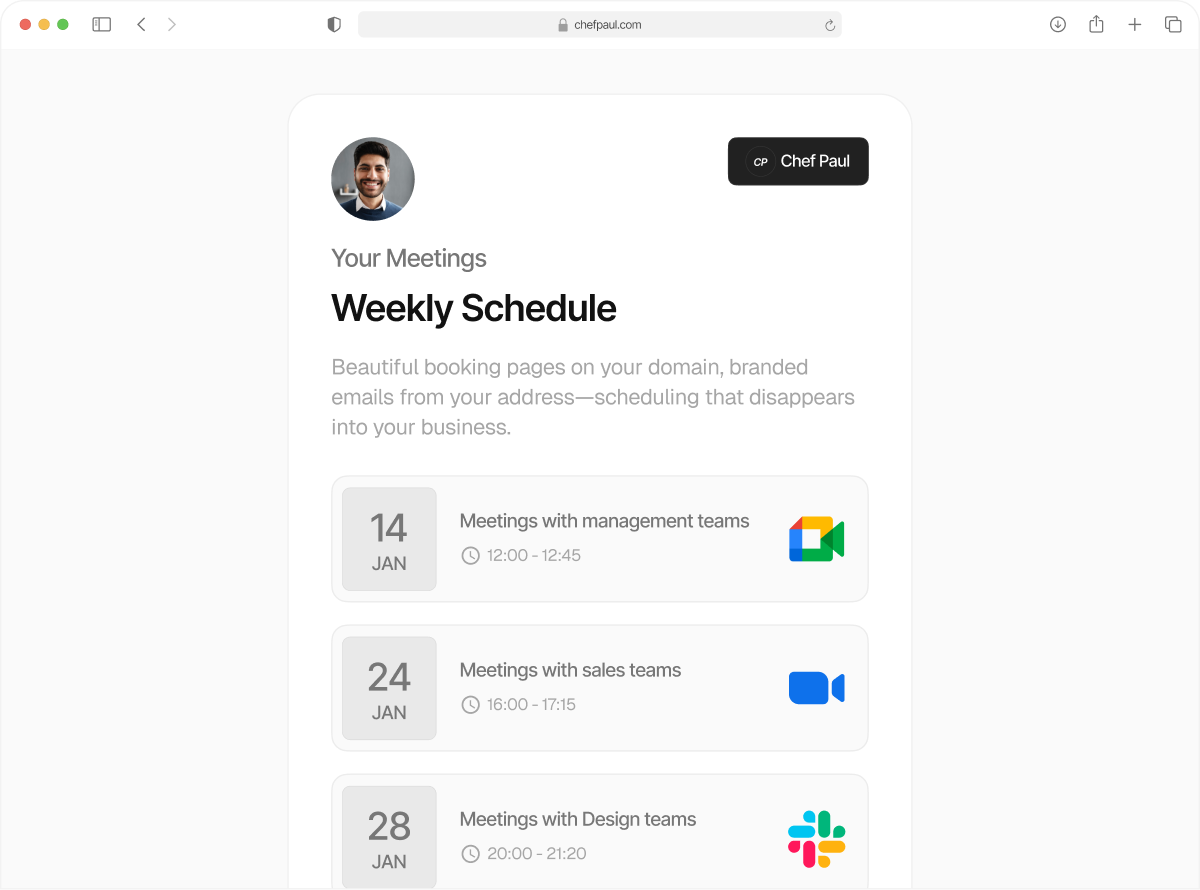
Using your own branding helps make the experience feel more professional, more trustworthy, and more consistent with the rest of your business. You can update your email templates with your own logo and remove Schedule.so branding, and you can also remove Schedule.so branding from the booking page itself.
Update branding in email notifications
Start by going to Email Notifications from the left sidebar in your Schedule.so account. This section stores all the email templates used in your notification workflows. Here, you will see the default templates provided by Schedule.so, along with any custom templates you have created.
From the list of templates, choose the email notification you want to update. To open it, click the edit icon next to the template name.

Understand the branding settings
Inside the template editor, Schedule.so shows the email preview and the branding controls. By default, the template includes Schedule.so branding and logo. you’ll find two branding settings: Use your own logo and Hide Schedule.so Branding.
To add your own branding, turn on Use your own logo. Then select or upload the logo you want to use. Once added, your logo will appear at the top of the email template in place of the default Schedule.so logo. This makes the email feel more like it is coming directly from your business.
Using your own logo is useful if you want your booking communication to feel more consistent with your website, product, or company identity.

If you want a cleaner branded email, turn on Hide Schedule.so Branding. When this option is enabled, the Powered by Schedule.so text at the bottom of the email is hidden. This helps reduce visible product branding inside the email and gives the message a more polished and business-branded appearance. Once your branding settings are updated, click Save Changes.

If you want the same branded experience across all your booking emails, repeat the process for the other templates in your Email Notifications list. If the updated template is already being used inside an event notification workflow, the changes apply automatically.

Remove branding from the booking page
After updating your email templates, you can also remove Schedule.so branding from the booking page. Open the event where you want to update the branding. Then go to Advanced Settings and scroll down to Brand Settings.
Here, you will find the option Remove Schedule.so branding from the booking page. Turn this option on. Once enabled, the booking page will no longer show Schedule.so branding.

Result
Once your branding settings are updated, your email notifications will feel more aligned with your business.
Your own logo can appear at the top of the email, and the Schedule.so footer branding can be hidden, giving your communication a cleaner and more professional look inside Schedule.so.