Understanding the Schedule Bookings
The Bookings tab in Schedule.so helps you manage all your appointments from one place. It gives you a clear view of your schedule, makes it easy to review upcoming and past meetings, and lets you update bookings when plans change.
Instead of checking appointments one by one, you can use the Bookings tab to track your calendar, stay on top of your schedule, and keep your meetings organized.
Accessing the Bookings Tab
To get started, go to Bookings from the left sidebar.
The Bookings section opens in a calendar-based layout, giving you an overview of your appointments and making it easier to understand your schedule at a glance.

Understanding the Calendar Views
At the top right of the page, you can switch between Month, Week, and List view.
The Month view helps you see all your scheduled meetings across the full month. Each booking appears on its scheduled date, which makes it useful when you want a broader overview of your availability.

The Week view gives you a more detailed breakdown. Here, you can review your schedule day by day and see the time slots for each meeting.

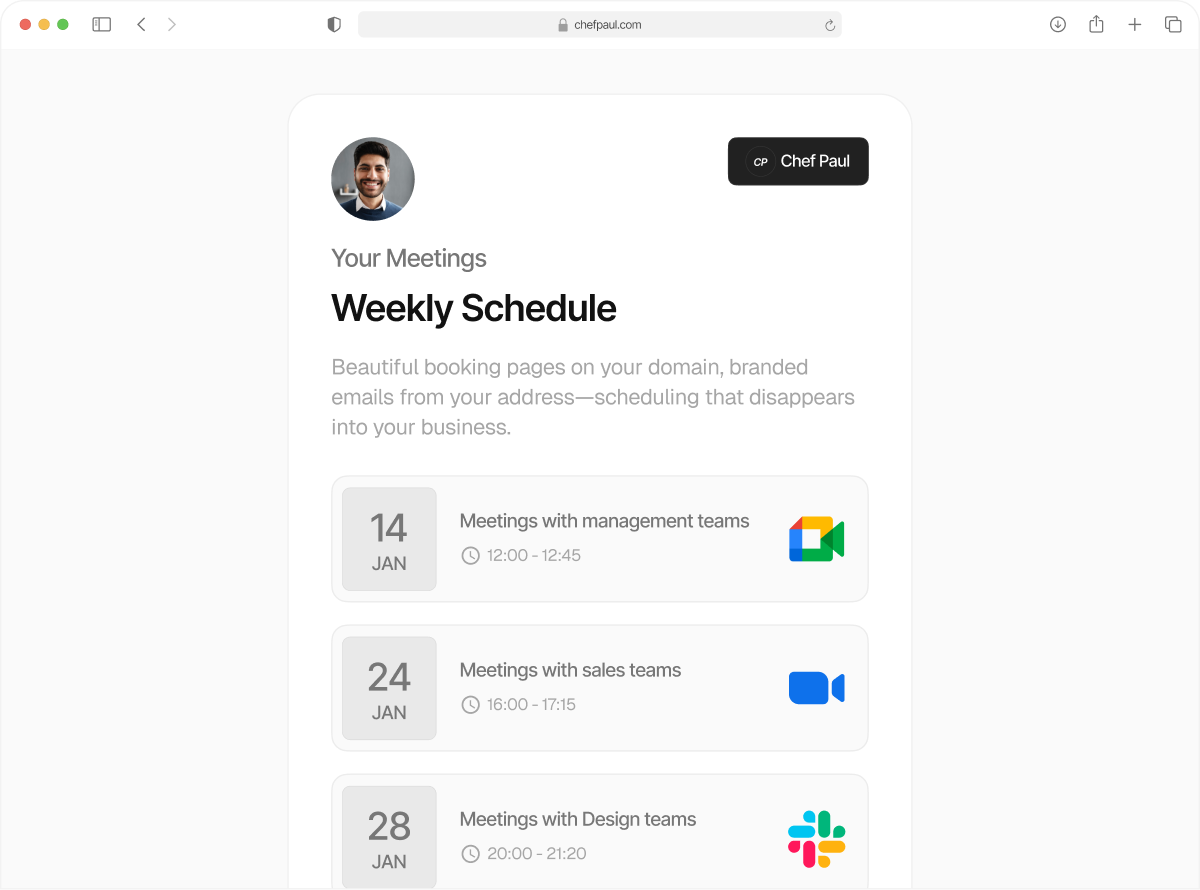
The List view shows your appointments in a clean timeline format. This makes it easier to scan through meetings one by one, especially when you want to review them in order rather than by calendar grid.

Filter bookings by event type
You can also use the event filter dropdown to narrow down what you see. When All Events is selected, the Bookings tab shows appointments from your Personal, Custom, and Shared Workspaces.
When My Events is selected, it shows only the bookings from your Personal Workspace. This is useful when you want to focus only on your own meetings or switch back to a wider view across workspaces.

Managing Upcoming and Past Events
In List view, you can switch between Upcoming Events and Past Events using the button at the top. The Upcoming Events section shows all meetings that are scheduled to happen next.
The Past Events section stores completed meetings, so you can look back at earlier appointments whenever needed. This makes the Bookings tab useful not only for managing future meetings, but also for reviewing older ones.

Viewing Booking Details
When you click on an event, a detailed popup opens with the full booking information. From this popup, you can review what the meeting is about, when it is scheduled, who is attending, and where it will take place. This gives you a full view of the booking without needing to leave the page.

Reschedule a meeting
For scheduled meetings, the popup includes a Reschedule option. If you need to move the meeting, click Reschedule and choose a new date and time.
Once the update is made, the new meeting details are automatically shared with all participants, and the event list updates right away to reflect the change. This helps keep everyone informed while making schedule changes easier to manage.

Cancel a meeting
If a meeting is no longer needed, you can cancel it directly from the booking popup. Once cancelled, the event is clearly marked in your schedule and remains visible for reference.
This helps you keep a full record of booking changes while still making it easy to see which meetings are no longer active.