How to embed Schedule.so on your website
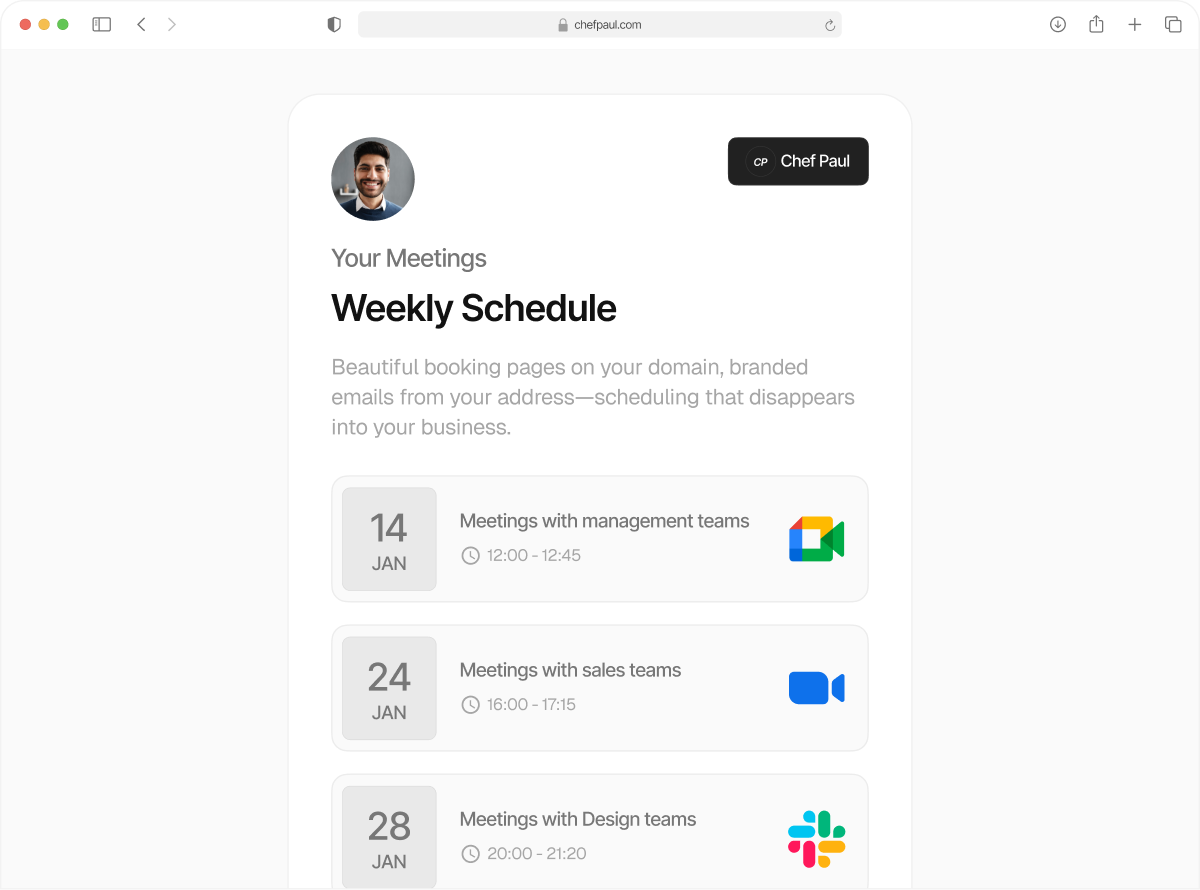
Embedding Schedule.so on your website helps visitors book meetings without leaving your site. Instead of sending people to a separate booking page, you can place the booking experience directly inside your website or open it in a popup.
Schedule.so gives you three embed options so you can choose the one that fits your website layout and booking flow.
Open the embed options
Go to Event Types and find the event you want to add to your website. Click the Embed icon for that event. This opens the embed setup window, where you can choose between Inline embed, Floating pop-up button, and Pop up via element click

Inline embed
Select Inline Embed if you want the booking page to appear directly inside your website content. This is useful when booking is an important part of the page and you want visitors to see the calendar right away without opening a popup or going to another page.

On the left side, you can adjust the Window Sizing settings. This lets you control the width and height of the embedded booking widget. By default, both values are set to 100%, which means the widget fills the available space inside its container.

At the top, choose either HTML (iframe) or React (iframe) based on how your website is built. Schedule.so will automatically generate the embed code for the selected format. Click Copy and paste that code into your website where you want the booking page to appear.

Once added, visitors will be able to see the booking calendar directly inside the page and complete their booking there.

Floating pop-up button
Select Floating Pop-up Button if you want a booking button to stay visible while visitors browse your site. When someone clicks the button, the booking page opens inside a modal window.
This option is useful when you want booking to stay easy to access without taking up space in the page layout.

On the left side, you can customize the button settings. You can update the Button Text, which is the label visitors will see on the floating button.

You can also choose whether to show the calendar icon next to the text.

Then select the Position of Button to decide where the floating button appears on the website.

You can also set the Button Color and Text Color so the button matches your site style. As you update these settings, Schedule.so automatically updates the embed code. Click Copy and paste the code into your website.

After that, the floating button will appear on the page. When visitors click it, the booking widget will open in a popup.

Pop up via element click
Select Pop up via element click if you already have a button, link, or clickable element on your website and want that element to open the booking popup. This option works well when you want the booking flow to match your existing website design instead of using a separate floating button.

Schedule.so generates the code needed to trigger the popup from a website element. You can copy this code and place it into your page, or connect it to an existing button or clickable section on your site.

Once added, visitors can click your chosen element and the Schedule.so booking popup will open. This gives you more control over how the booking flow fits into your website layout.