How to setup custom domain in schedule.so
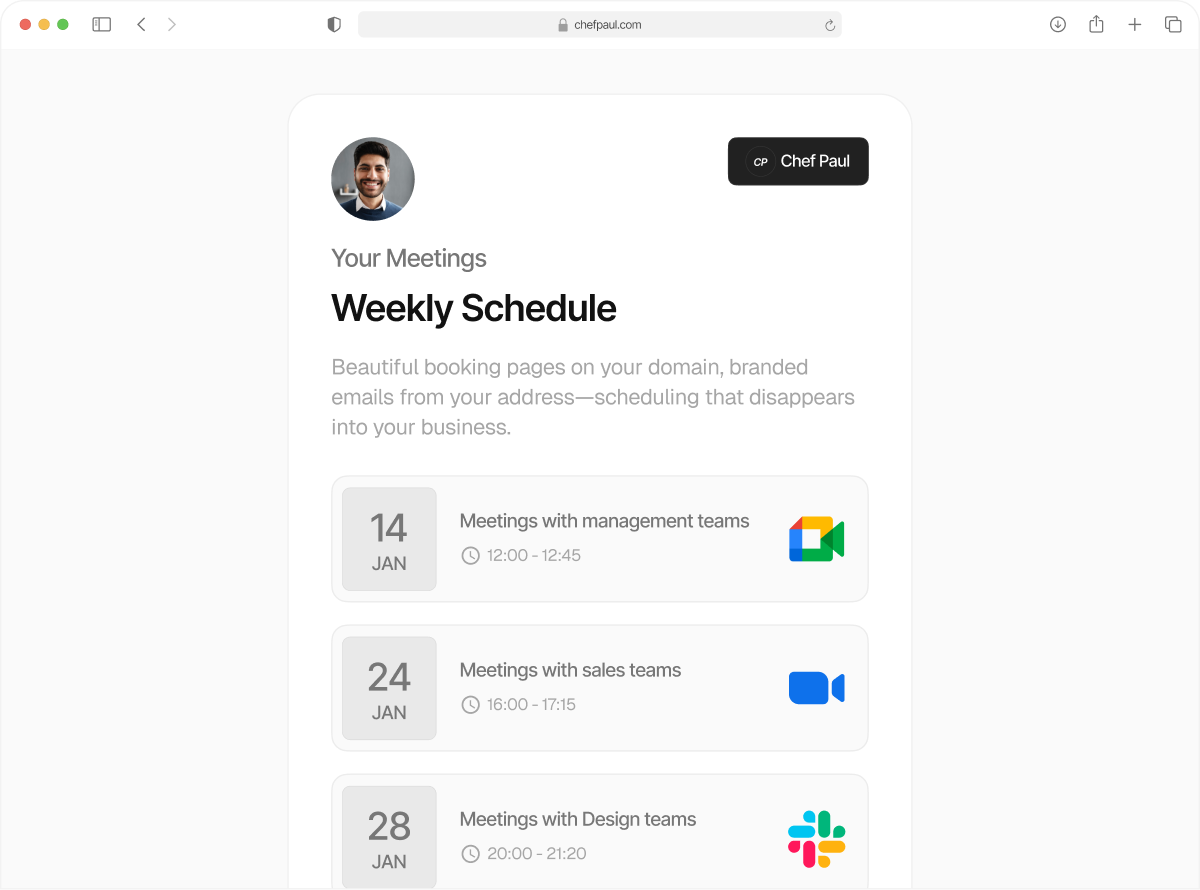
A custom domain lets you host your booking page on your own branded URL instead of using the default Schedule.so link. This helps your scheduling page feel more professional and more consistent with your brand.
You can set up your custom domain during onboarding or later from the dashboard. This guide explains how to connect your domain, update DNS, verify it, add reCAPTCHA v3, and use it in an event.
Add your custom domain
Go to the top navigation bar in your Schedule.so dashboard and click Domains. Then click Add New Domain. This is where you can add and manage the custom domains used for your booking pages. Enter the domain or subdomain you want to use for your booking page.Once entered, click Setup Domain to continue.

DNS details
After adding your domain, Schedule.so will show the DNS details needed to connect it. These values are used in your DNS provider to point the domain to Schedule.so. Keep this page open so you can copy the values exactly as shown.

Add the CNAME record in your DNS provider
Now go to your DNS provider — for example, GoDaddy, Cloudflare, or Namecheap — and create a CNAME record. Here, we will set up the entries using Cloudflare. Open your Cloudflare dashboard and go to the DNS Records section for your domain. Create a new DNS record and set the type to CNAME.

Then go back to Schedule.so and copy the CNAME name shown there. Paste it into the Name field in your DNS provider. Copy the CNAME target value from Schedule.so and paste it into the Target field.

If your DNS provider supports proxy settings, make sure Proxy is turned off and set to DNS Only. This is important because Schedule.so needs direct access to verify the domain and complete the SSL setup. If the record is proxied, domain verification may fail.
You can also keep the TTL low, such as 1 minute, to help the record update faster. Once everything is added, save the record.

Verify the domain
After saving the DNS record, go back to the Domains section in Schedule.so. Your domain may show as pending until the DNS record is detected and SSL is issued. Open the domain settings and click Verify Domain.
If the DNS record has been added correctly, Schedule.so will verify the domain and complete the SSL setup. Once verification is complete, your custom domain will be ready to use.

Add reCAPTCHA v3 keys
After connecting the custom domain, you need to add your own reCAPTCHA v3 keys to protect your booking pages from spam and abuse.

To create the keys, open the Google reCAPTCHA dashboard and create a new site. Add a label, choose reCAPTCHA v3, enter your full custom domain under Domains, and then click Submit. Google will generate a Site Key and Secret Key.

Copy both keys and paste them into the matching fields in Schedule.so. Then click Update to save the changes. You can also set the connected domain as your default domain at this stage if needed. Once saved, reCAPTCHA v3 will be active on your custom domain.

Use the custom domain in an event
After your domain is connected and verified, you can use it in an event. Open the event you want to publish on your custom domain. From the list of connected domains, choose your verified custom domain.
Then enter a short URL slug such as meeting, consultation, or book-a-call. Save the event settings. Your event will now use the custom domain, so the booking link you share will appear on your branded URL instead of the default Schedule.so link.