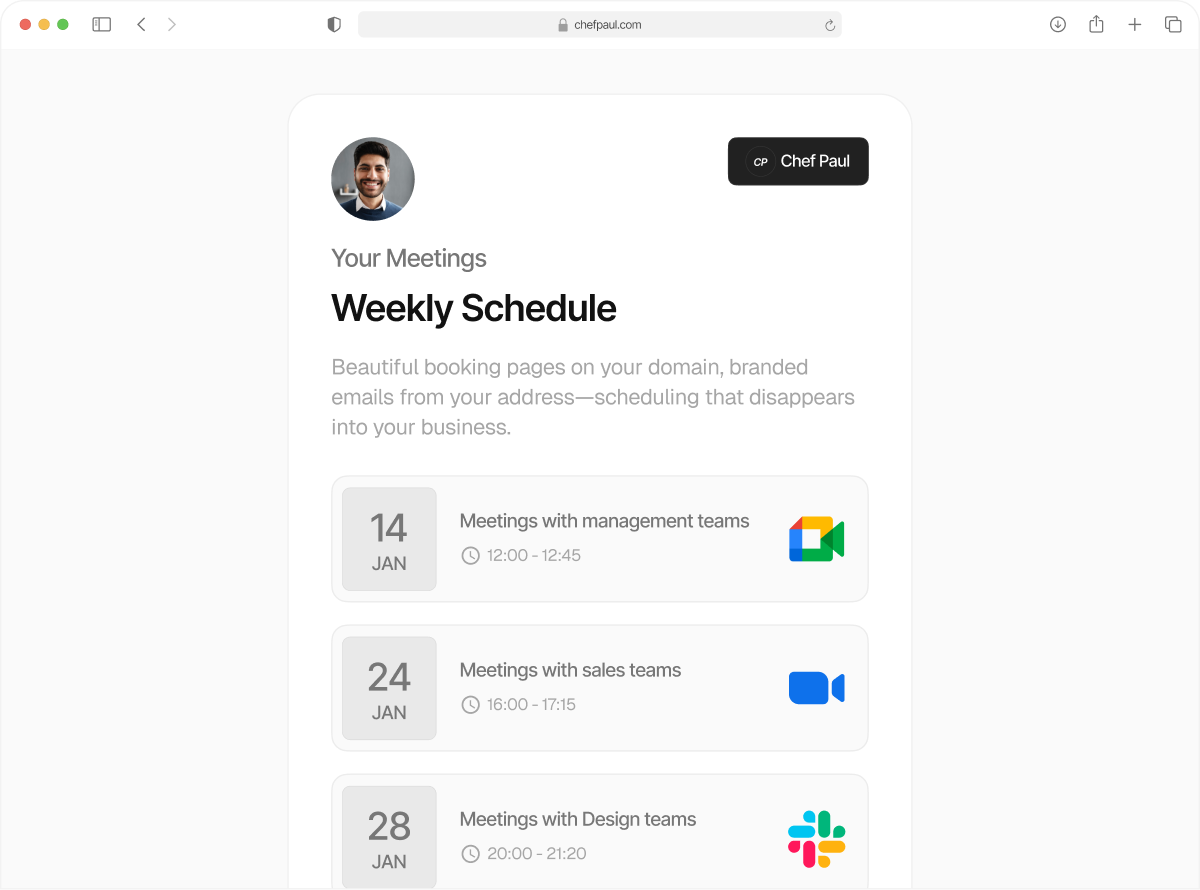
How to set up your booking page in Schedule.so
Setting up your booking page in Schedule.so helps you automate meeting scheduling without back-and-forth emails. Once set up, people can book time with you based on your availability, and everything stays organized in one place.
This setup includes creating availability, connecting your calendar, setting meeting locations, and creating an event that others can book.
In the sections below, we will go through the complete setup step by step.
Create Availability
Go to the Availability section from your dashboard and click Add New. Enter a name for your availability, such as Work Hours or Client Meetings. This helps you manage different schedules easily. Click continue.

Define your available days and working hours. Turn on the days you are available and set the time range for each day.

You can also select your time zone to ensure your availability is shown correctly to both you and the people booking with you.

If you have a day off or a planned break, you can use Date Overrides to block specific dates. These dates will not be available for booking. Once done, save your availability.

Connect Your Calendar
Go to the Calendars section to connect your existing calendar. You can connect Google Calendar, Outlook, or Apple Calendar. This helps prevent double bookings by syncing your existing events. To connect Google Calendar, click connect and sign in to your Google account. Grant the required permissions to allow access. Once connected, your events will sync automatically with Schedule.so.

Set Meeting Location
Go to the Meetings section to define where your meetings will take place. You can connect tools like Google Meet, Zoom, or Microsoft Teams for online meetings. If you prefer in-person meetings, you can add a custom location such as your office or any physical space. This ensures that every booking includes clear meeting details.

Create an Event
Go to Event Types and click New. Choose the type of event based on your use case. Select Personal Event for one-on-one meetings or Team Event if multiple team members are involved.

Enter the event name and duration. Then select the meeting location, connected calendar, and the availability you created earlier. This links your event to the correct schedule.

Set booking controls
You can now add rules that control how people book time with you. You can add buffer time between meetings so you are not booked back to back. You can also set minimum notice, which controls how far in advance someone must book.
If needed, you can apply booking limits to control how often the event can be booked. These settings help you manage your time more clearly and avoid schedule pressure.

Prevent booking conflicts
If you use more than one calendar, enable conflict checking. This helps Schedule.so avoid showing time slots that clash with events already on your other connected calendars. It is especially useful when you manage meetings across different tools or accounts.

Customize the booking form
In the Questions Required section, you can control what information is collected from the person booking. You can make fields like name, phone number, or description required or optional. You can also add custom questions to collect additional details before the meeting.
This helps you prepare better and gather only the information you need.

Update the booking page branding
Go to Brand Settings to customize your booking page. You can add your logo, choose brand colors, and adjust the overall appearance. This makes your booking page look more professional and aligned with your brand.

Set up notifications
After branding, open the Notifications section. This is where you control how updates are sent for the event. You can configure notifications for bookings, confirmations, reminders, and other meeting updates so both you and your invitees stay informed. A good notification setup helps reduce confusion and keeps the booking process smooth.

Save and share your booking link
Once everything looks right, click Save. Your personalized booking link will be created and ready to share. This is the link your clients, customers, or contacts will use to book time with you.

Result
When someone books a meeting, both you and the invitee receive an email notification with the booking details. All appointments are also stored in the Bookings section, so you can review and manage them from one place.
You now have a system where people can book time with you based on your real availability, your connected calendar, your preferred meeting locations, and your event rules.