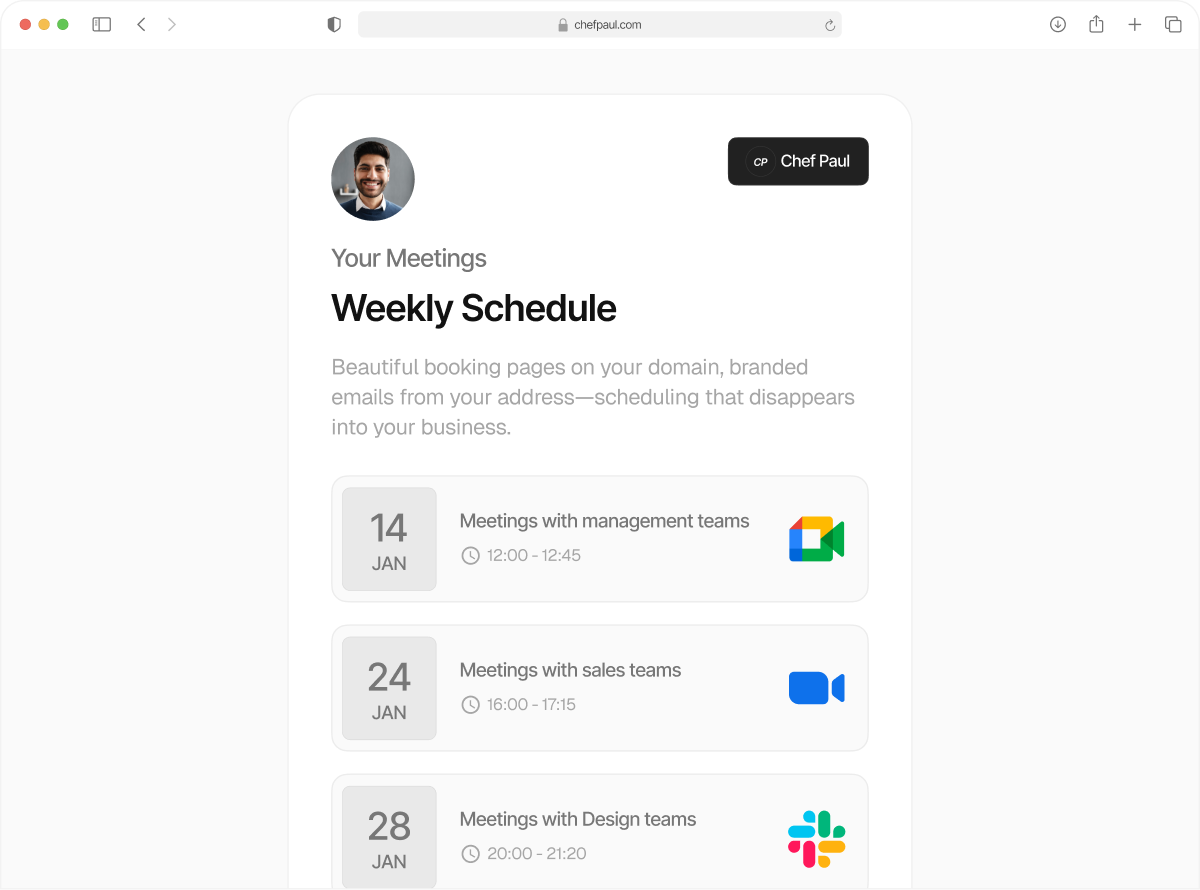
How to set up your Schedule.so account
Schedule.so helps you manage your availability, connect your calendars, and let others book time with you without the usual back and forth. After creating your account, you will be guided through a short setup flow to get your booking page ready. This guide explains each step and what it does.
Create Your Account
To start, go to schedule.so/app and create your account. You can sign up using Google or with your name, email, and password. If you sign up with email, make sure your password matches the required security rules shown on the screen.
Once your account is created, Schedule.so will take you into the onboarding setup.

Choose your storage region
The first step is selecting your storage region. This decides where your account data will be stored and which compliance standards apply to your account. In the setup flow, you can choose between the European Union and United States. Each option shows the compliances available for that region. The European Union region includes SOC 2, ISO 27001, and GDPR. The United States region includes SOC 2, ISO 27001, and HIPAA.
Choose the region that best matches your business, legal, or compliance needs, then continue to the next step.

Set up your profile
Next, you will set up your booking identity. This is the profile information people will see on your booking page. You can upload a profile avatar to make your page feel more personal and professional. Your name from sign up is filled in automatically, but you can change it if needed.
You will also choose a username. This becomes part of your booking link, so it should be clear and easy to share. Schedule.so checks username availability instantly and confirms when the name is available. Once your profile looks right, continue to the next step.

Connect your calendar
After that, connect the calendar you want to use with Schedule.so. This step is important because Schedule.so uses your calendar to check existing events, keep your availability accurate, and help prevent double bookings.
You can connect Google Calendar, Outlook Calendar, Apple Calendar, or Schedule.so Calendar.Choose the calendar that fits your workflow and connect it to continue. Once connected, Schedule.so can use it while showing available slots and saving bookings

Set your meeting location
Next, choose how your meetings will take place. Meeting locations tell invitees how to join or attend the meeting. Schedule.so supports different location types depending on how you work.
For Google Meet, Microsoft Teams, and Zoom, you need to sign in with your account credentials before you can use them. For In Person, you can choose whether the meeting should use the attendee address or the organizer address. The same applies for phone. For Custom Link, you can add your own meeting URL. For Physical Location, you can enter a fixed address, such as an office or meeting room.
You can add one or more location options based on how you want to host meetings.

Set your availability
The next step is setting your default availability. This controls when people can book time with you. Start by selecting your working days. You can turn each day on or off depending on when you want to accept bookings.
Then choose your working hours by setting a start time and end time for the days you are available. For example, if you set your hours from 10:00 AM to 5:00 PM, Schedule.so will only show booking slots within that time range unless you change it later.
This creates your default availability, which you can always update later from the dashboard.

Add your custom domain
You will then see the option to connect your own domain. A custom domain lets you host your booking page on your own branded URL. This can make your booking page look more professional and more aligned with your brand.
You can enter your domain during setup or skip this step and add it later from the dashboard. If you are not ready to configure a domain yet, it is fine to skip it for now.

Create your first meeting type
The last step is creating your first meeting type. This is the booking option people will use to schedule time with you. Start by entering a meeting name that clearly describes the purpose of the meeting.
Then choose the duration of the meeting. This defines how long each booking will last. Once these details are set, finish the setup to create your first bookable event.

After setup is complete
Once you finish all steps, Schedule.so shows a confirmation screen to let you know your account is ready. From there, you can open your booking page to see how it appears to others, or go to your dashboard to manage your events, availability, and settings. At this point, your first meeting type is live and your booking link is ready to share.