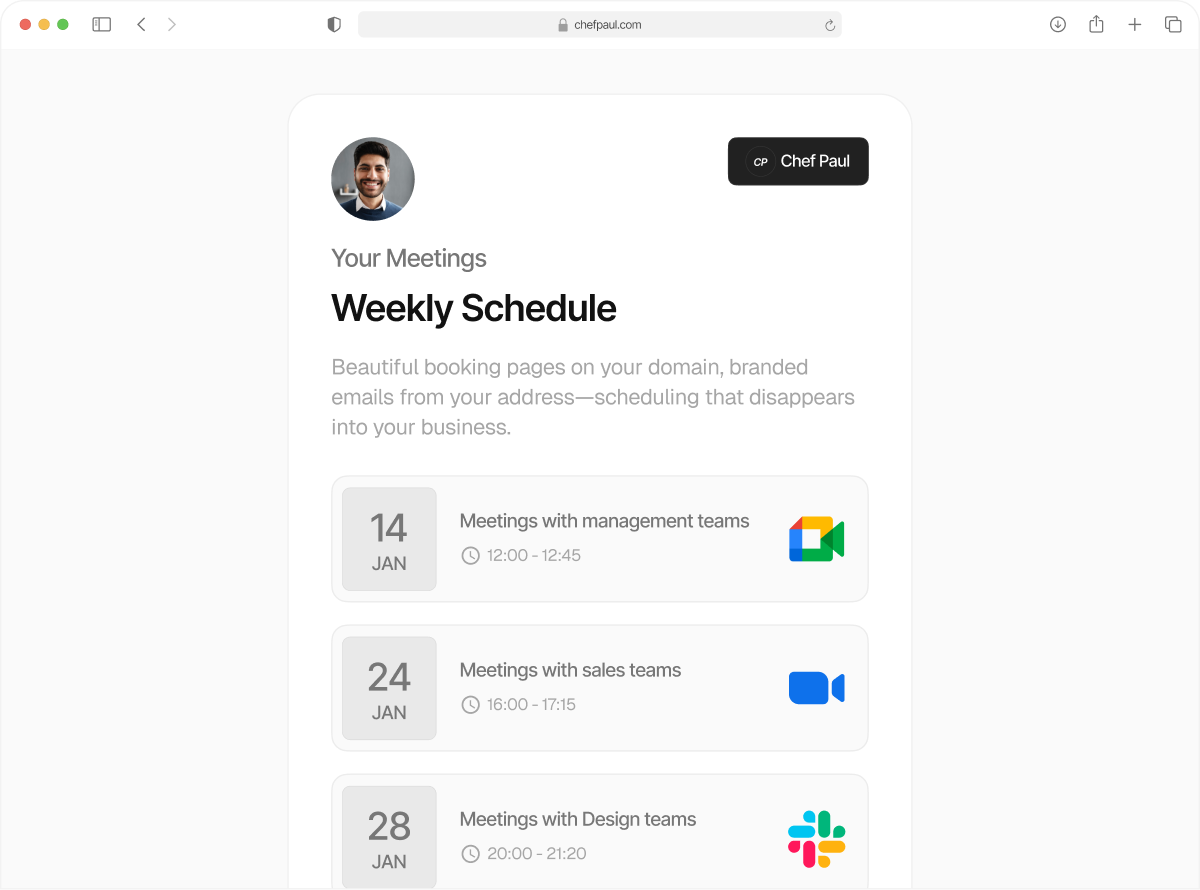
How to update your profile on schedule.so
Your profile is a key part of your booking experience in Schedule.so. It’s the first thing people see when they visit your personal booking page. Keeping your profile updated ensures your page looks professional, clear, and trustworthy.
This guide walks you through how to update your profile settings step by step.
Access Profile Settings
Go to the left sidebar and click on Profile Settings. This will open the profile settings page, where you can manage the main details used on your personal booking page.
On this page, you’ll find options to update your booking profile slug, profile avatar, and personal profile page about section, all in one place.

Update Your Booking Profile Slug
At the top of the page, you’ll find the Booking Profile Slug field. This defines the unique part of your personal booking page URL. For example, if your slug is set to acmecorp, your booking page link will include this value.
Whenever you create a new event, the booking link is automatically structured using your profile slug first, followed by the event slug. This keeps all your event links consistent and easy to recognize. After updating your slug, you can use the copy icon next to it to quickly copy and share your booking page link.

Upload Your Profile Avatar
Next, go to the Booking Profile Avatar section. Click Upload to add or update your profile photo. This image will appear on your public booking page and helps make your profile more recognizable and personal. Once uploaded, the updated avatar will be reflected on your booking page.

Add Your About Section
Scroll down to the Personal Profile Page About field. This section allows you to add a short introduction or description. You can use it to explain who you are, what kind of meetings you offer, or provide helpful context to visitors before they book time with you. Adding this information makes your booking page feel more complete and helps visitors feel confident when scheduling time with you. Once you’ve updated your profile details, click Save.

Preview Your Profile Page
After saving, you can open your profile page to see how it appears to visitors.
This allows you to review your updated avatar, name, and event list on the public booking page before sharing your link.